Have you ever looked at a blank wall and felt inspired? Arranging pictures on a wall is like painting with memories, with each frame a brushstroke that adds warmth and personality to your space. But let's be honest—it can also be a bit of a puzzle. Where do you start? How do you make everything look "just right"? That's where a dash of preparation meets a sprinkle of creativity. This guide is your trusty companion through the journey, from picking out your favorite snapshots to the final satisfying tap of the hammer. Let's turn that daunting wall into a canvas of your cherished moments.
What You Need to Prepare for Arranging Pictures on a Wall
Let's use the right tools before transforming your wall into a gallery of your favorite moments. Think of it as gathering ingredients for a recipe. Just as you wouldn’t start baking without flour or eggs, you shouldn't begin to hang pictures without the essentials on hand. From your treasured photos to the humble pencil, each item is pivotal in ensuring your wall arrangement looks precisely how you envisioned it, or maybe even better. It’s a mix of art and precision; having these tools by your side is your first step toward creating that perfect display. So, let's peek into the toolbox and get you ready for some wall magic!
Pictures
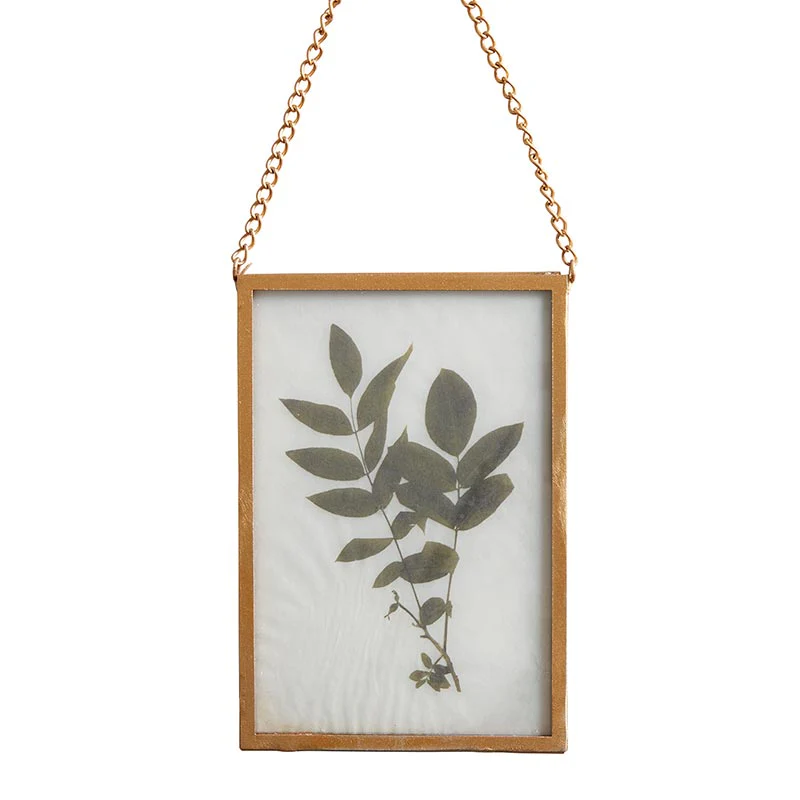
Picking the right pictures is like curating your very own art collection. You want a mix that speaks to you, tells your story, and adds that cozy vibe to your room. Consider combining different sizes for a bit of visual excitement. Larger framed wall decor can anchor your display with bold statements, while smaller mini frames sprinkled in between add whispers of personal touches or witty sayings. It’s not just about filling space; it’s about creating a dialogue between the big and the small, the loud and the quiet. The key? Make sure they all get along. Whether through color, theme or just a feeling, your pictures should complement each other and create a seamless story that captivates anyone who takes a moment to look. You can find various images at M Street Decor, a home decor online store that homeowners trust.
Measuring Tape
The measuring tape—your secret weapon for precision and alignment in home decor wall art. This handy tool ensures each picture sits just where it should, creating that eye-pleasing harmony on your wall. It helps you map out the exact distances between frames to avoid that all-too-common mistake of eyeballing it and ending up with a wonky layout. Whether it’s making sure you evenly space your frames or your gallery wall has that just-right symmetry, a measuring tape is your trusty guide to getting it spot on. So, grab it, and let’s get those pictures lined up like a pro!
Painter's Tape
Painter's tape, the unsung hero of home décor! This nifty tool is a game-changer when planning your wall arrangement without leaving a trace. Think of it as your rehearsal before the big show. Lay your design on the wall with painter's tape, marking where each frame will go. It's like a blueprint allowing you to step back, adjust, and tweak your layout until it's right. No commitment, no mess. Once you're happy with how everything looks, you're all set to make it permanent. This way, your walls stay pristine and free from unnecessary holes and marks.
Hammer and Nails
Grab your hammer and nails; it’s showtime. Think of these tools as the trusty sidekicks in your decorating adventure. The hammer, with its solid grip and steadfast purpose, paired with nails, is the anchor of your art and makes hanging pictures a breeze. Each nail you drive into the wall is a promise that your cherished memories are going to hang tight, safe, and sound. And when you swing that hammer, it’s not just about putting up a picture. It’s an act of commitment to making your space truly yours. So, choose your nails wisely based on the weight of your frames to keep your gallery from becoming a moving exhibit. It’s simple, effective, and oh-so-satisfying.
Level
A level is like the secret sauce to a picture-perfect wall. Have you ever hung a picture, stepped back, and noticed it’s just a tad off? Enter the level. This handy tool ensures your pictures hang straight, avoiding that wonky look nobody's fond of. It’s all about balance. Place the level on top of your frame, adjust until the bubble sits right in the middle, and voilà! You’ve got yourself a straight, professional-looking display. It’s a small step that makes a big difference, turning your arrangement from haphazard to harmonious with just a glance.
Pencil
Here's where the humble pencil comes into the spotlight. It might seem too simple, but it's your guiding star in the grand theater of wall decorating. Before you make any commitments with nails, your pencil marks the spot. It's your precision tool, allowing you to plot precisely where each piece of your gallery will live. A small, barely noticeable mark is all it takes to ensure your pictures land where they should be. There is no guesswork, just a tiny guide to say, "Here, this is the spot." It's all about making those small but mighty decisions that lead to a perfectly hung masterpiece.
Additional Hanging Hardware
When you're ready to hang up those pictures, there’s more to consider than just hammer and nails. Welcome to the world of hanging hardware – a treasure trove of hanging strips, wires, and D-rings. Each piece of this toolkit has its unique role in getting your frames up on the wall, no matter their size or style.
Hanging strips, for example, are perfect for those who want to keep their walls as hole-free as possible. They're like magic for lighter frames - stick them up, and you’re good to go. Wires and D-rings are the go-to for heavier, more ornate frames. They give you the flexibility to adjust and align your artwork just right. Together, this trio ensures you can hang your pictures beautifully and securely, whatever your wall or frame type is.
How to Arrange Pictures on a Wall
Rolling up our sleeves, we're about to dive into crafting a stunning visual narrative on your wall. Think of this as where creativity meets precision. We're not just slapping pictures up; we're weaving a visual tale, piece by piece. Whether you dream of sophisticated gallery walls or a cozy montage of cherished moments, how you hang pictures makes all the difference. From selecting the right fence to fine-tuning your arrangement to hanging multiple images, we'll guide you through each step. Are you ready to transform that wall into a dazzling display of your journey? Let's embark on this creative adventure, ensuring every frame tells its story harmoniously with your space.
Choose Your Wall
Selecting the perfect wall for your pictures is like choosing the right stage for a play. It's where your photos will shine, capturing attention and drawing viewers into your world. Consider if an accent wall with a bold color suits your style or a gallery wall that invites onlookers to explore various moments and family photos.
Pay attention to the wall’s background color and texture, as these should complement your wall pictures. Picture placement is crucial. Light is another factor; natural light can highlight the colors and details in your photos, while artificial light can create a specific ambiance.
Think about the space too. A corridor could transform into a gallery of cherished memories, while a prominent wall in your living room might host a diverse collection of art and framed pictures. Find a wall that does more than display your photographs. It should integrate photos into your home.
Initially Planning Your Layout on the Floor Before Hanging Pictures
Starting your picture arrangement on the floor is like sketching a blueprint before building. It’s a no-stress way to try different layouts without the commitment of nails in the wall. Think of it as your creative playground. You can shuffle around frames, see how different sizes and styles look together, and play with spacing—all without making a single mark on your wall.
The method lets you step back, consider your composition from different angles, and make changes quickly. It’s all about finding that perfect balance before you commit. Plus, it gives you a clear visual of how your arrangement will look, helping avoid surprises once it’s on the wall. So, take time, move things around, and enjoy this process. It's your vision coming together, piece by piece.
Arrange Your Pictures
Arranging your pictures is like putting together a puzzle where you decide how the pieces fit. Grouping by theme, color, or size can give your display a cohesive look that tells a story or sets a mood. For instance, themes like nature or family moments can create a narrative across your wall. Color coordination can soothe or dazzle the eye, depending on your palette choice. And what about playing with size? That’s where you mix things up, placing larger frames as anchors and smaller ones to fill the space around them.
Balance variety with harmony. You want each picture to stand out yet feel like part of a central large picture. So, experiment a bit. That's what an experienced interior designer will do. Shift things around until you feel that click, the moment everything feels right.
Create a Focal Point and Wall Space
Creating a focal point is like choosing the lead in a play. This star piece catches the eye first and sets the tone for the rest of your display. To pick your central piece, look for something that stands out. It could be a larger frame, a bold piece of art, or a photo with special meaning. Once chosen, position it at eye level in the center or slightly off-center of your arrangement.
Around this focal point, arrange your other pictures or faux greenery stems in a way that supports but doesn't overshadow it. Think of them as the supporting cast, enhancing the story your focal point tells. Create a solid visual journey that keeps your guests engaged as they explore the rest of your collection.
Hang Art at Eye Level
Hanging artwork at eye level is like setting the stage so everyone in the audience has a great view. It's the sweet spot that makes your display enjoyable without making anyone strain their necks. But how do you find this magic height? A good rule of thumb is to hang your central piece so its center is about 57 to 60 inches from the floor. This range matches the average eye level and is often used by galleries to showcase art in the most accessible way, which doesn't mean every piece must be the same height, but it sets a baseline. Adjustments can be made based on the layout and furniture, ensuring the artwork feels connected to its space. It's all about creating a comfortable viewing experience.
Mix-Up Frames and Art Styles
Mixing up frames and art styles is like hosting a party where everyone's invited, from sleek metal frames to rustic wood ones, and every art style under the sun. This diversity adds layers and textures to your wall. Make sure to combine different materials. A metal frame can complement a wooden one by adding a touch of modernity to the warmth of the wood. Similarly, blending art styles—from abstract to realism—creates a rich visual narrative.
Mixing it up keeps the eye moving and intrigued by the variety. It tells your guests you're not afraid to experiment and that your space reflects a broad spectrum of experiences and tastes. Think of your wall as a canvas reflecting life's complexity and richness. You can find a variety of picture frames online at M Street Decor.
Conclusion
And there we have it! Your wall, your rules. Dive into arranging pictures with an open heart and a playful spirit. Mixing frames, shuffling art, and finding that sweet arrangement spot—it's all part of crafting a space that's unmistakably yours. Every attempt and rearrangement brings you closer to a wall that dazzles visitors and gives you a little spark of joy every time you glance its way. So, grab those frames and let your walls sing your story. Here's to making your home more you, one picture at a time. Happy decorating!